Sunday, October 31, 2010

The Kitchen Reno Continues


This weekend was incredibly busy. Our drywall contractor arrived at 8 am Saturday morning to begin drywalling. There was a lot of patching to do due to our electrical changes and we also decided to cover up a window which you can see in the left corner of this image. The window looked out on our back patio which is dark and dreary and nothing nice to look at. Rather than incur the cost to remove the window, we decided to simply cover it with drywall.


Our kitchen before

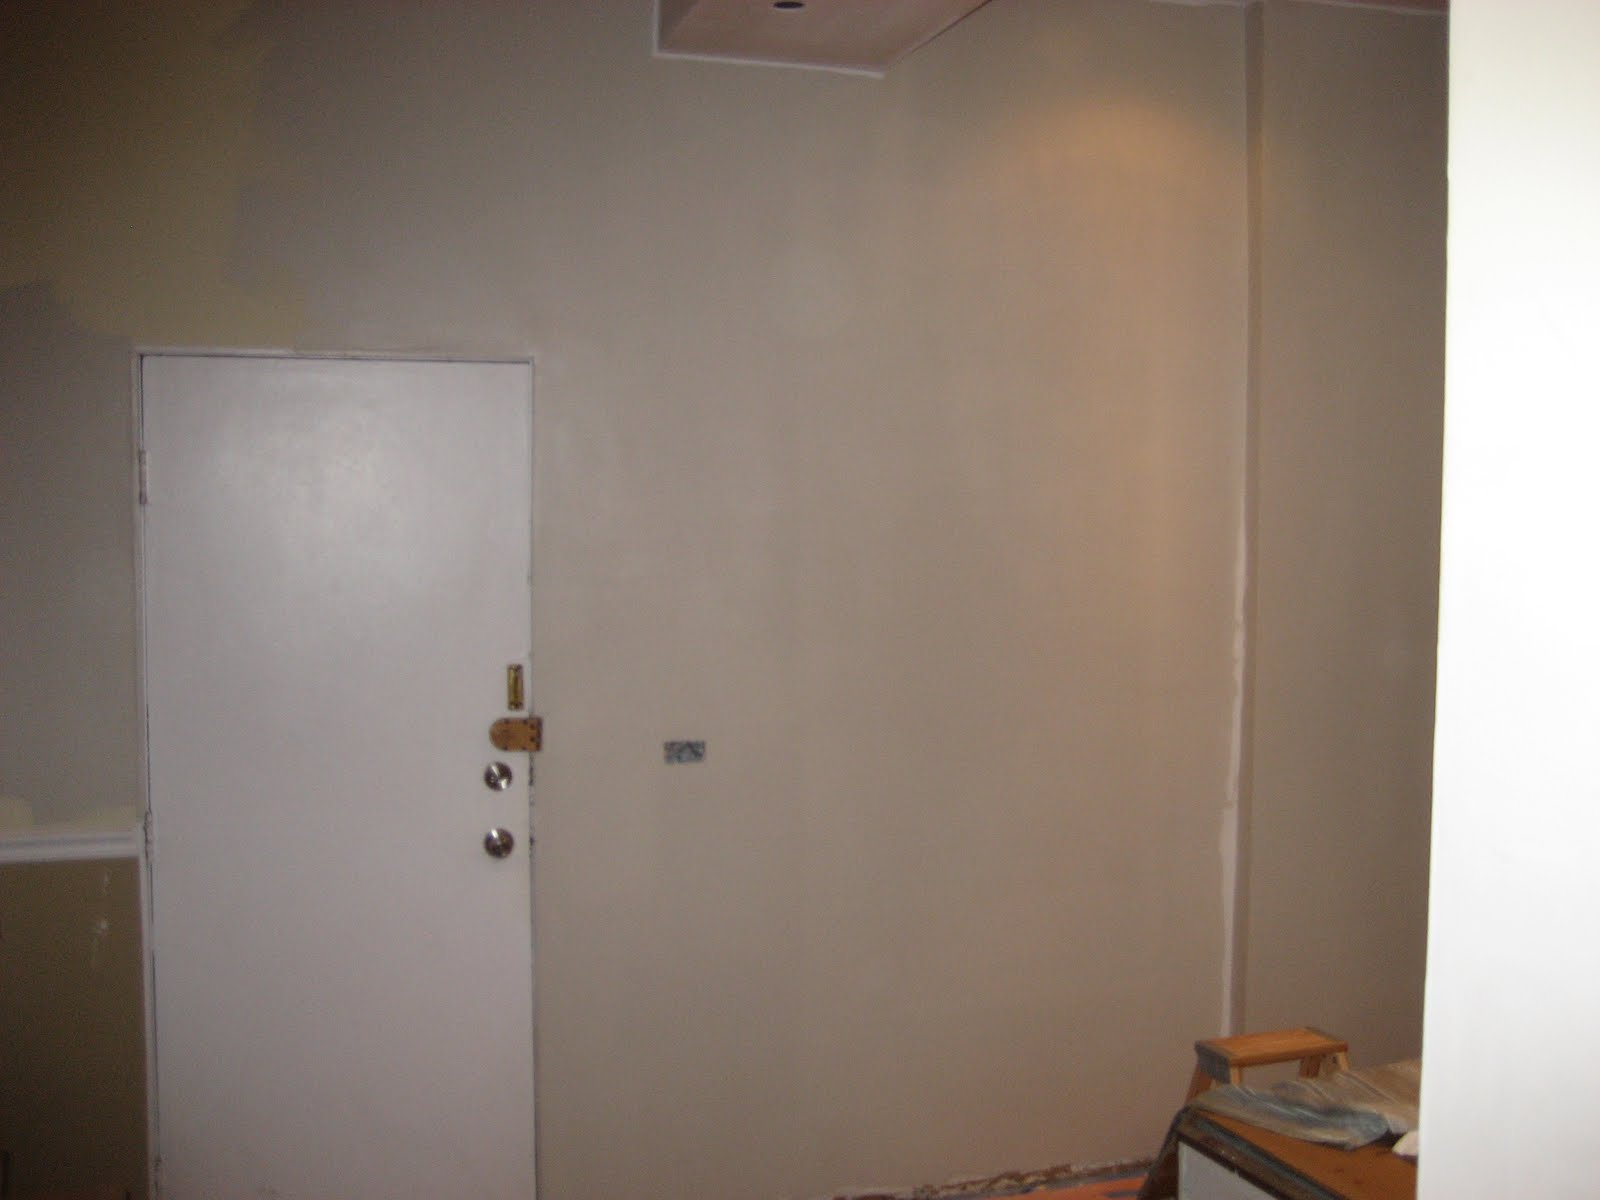
The Window wall after being covered with drywall

We purchased a vinyl window shade and adhered it to the inside of the window. This way, when you look at the window from the outside it will look like a normal window with the shades drawn. The drywall installers then placed studs within the window frame as well as some insulation, topping it all off with drywall. They did a wonderful job and worked so hard! Our cabinet installer will come on Wednesday to install the cabinets. Slowly, but surely we are making progress!

Andrew and I spent the majority of the weekend picking out paint colors. A long time ago I purchased Benjamin Moore Paint deck which has proved invaluable. There are hundreds of colors to choose from, however I always seem to come back to the Historic Colors as they are classic and gorgeous.

For our living room and hallway we chose: Manchester Tan or Benjamin Moore HC-81. It's a cool light beige.

For our kitchen we chose: Revere Pewter or Benjamin Moore HC-172.

'
For our bedroom we chose: Grant Beige or Benjamin Moore HC-83.


Although Benjamin Moore recommends using their paints for their colors, both Home Depot or Lowes can match their colors. Lowes carries Valspar, and our painter friend Trevor recommends their signature paint and primer in one paint, which costs $15 less than a gallon of Benjamin Moore. We painted the kitchen tonight and the paint worked well and covered great.

Friday, October 29, 2010

Hardware

So my friend Kelli brought up a good point. Its hard to pick a pendant when you don't know the other finishes in the kitchen, most importantly the hardware. So below are pictures of the handles and knobs we picked for the cabinets. Andrew and I are probably going to have to install these ourselves which will be interesting.


G.W. Aldeen

You may not know this about me, but cabinet hardware holds a special place in my heart. Not just because its the "jewelry" of home design, but because my great-grandfather started one of the largest American hardware companies. Its called Amerock, and I've made it a rule to use their hardware exclusively! My Great-Grandfather G.W. Aldeen immigrated to the states directly from Sweden. He possessed a creative and inventive mind and after working at a door and lock company, him and his brother Reuben started their own company. It is believed to be the first company dedicated completely to making cabinet hardware. Amerock was founded in the fall of 1929, just mere months before the great stockmarket crash of '29, however despite in spite of this the company had great success. The company was sold in the '70's and is currently owned by the same parent company that owns Rubbermaid. It's always astounding to me that my Great-Grandfather came to America with only $25 in his pocket and was able to learn English and start an extremely successful company in his lifetime. Should it interest you, you can read more about Amerock here.

Below are pictures of the hardware I chose:

Drawer pulls

Cabinet Knobs

Thursday, October 28, 2010

Need your help!

I cannot decide which pendant lights to hang over the penninsula. We are going for a "transitional" look which combines both traditional and contemporary elements. I'm thinking a satin nickel or polished nickel finish would work best. Here are the options I'm currently considering. Give me your vote!


The Kenroy Pendant


The Savoy Pendant


Celeste Pendant

Tuesday, October 26, 2010

Kitchen Renovation


Well its begun. The kitchen renovation is finally here! I am so excited to tell you all about it. So in late September my husband and father in law came through again to handle the demolition. The demo went really well and really quickly. However no renovation would be complete without a few snafus and believe me we had our fair share. To tell the whole story I should start from the very beginning.


After working with a general contractor on our Bathroom renovation, Andrew and I decided we could do this renovation on our own by hiring out and managing the sub contractors without a GC. As you will see from our experience thus far, this is not a decision for the weak hearted. It has caused considerable stress and anxiety. However, it is saving us A LOT of money. So here is how it we started the process.

Design our cabinet layout and purchase cabinets - these usually have the longest lead times (5-6 weeks), so this was the first decision that needed to be made. We chose to use Andersonville Kitchen and Bath. They were wonderful to work with, however we shopped around and discovered that Lowe's was offering a some major discounts. I always prefer to work with local vendors and contractors as they are much more likely to have better customer service. I told Andersonville that I wanted to purchase the cabinets through them, however I was hoping they could beat or match Lowes' pricing, and they did! I think this is true for most things in the construction world, always ask for a better deal! 9 times out of 10 you'll get it!

The design for our kitchen is below. Since we decided to eliminate the cabinets over the penninsula (see the before photo above), I chose really, really tall cabinets in the rest of the kitchen (they're 54"!). Not even Andrew will be able to reach the top shelf without a ladder, but it will provide a ton of concealed storage and is perfect for items that aren't used on a regular basis, such as your crock pot or martini glasses.


Next step...
Determine the sub-contractors and obtain pricing:
Electrician - Traian Electrical - Traian is wonderful! He worked on our bathroom, however one little inconvenience is that he already planned a trip to his home country of Romania right when we were planning on starting our project. However I knew he did amazing work for a great price, so I was willing to schedule around his trip. On a side note, Traian had not been home for 7 years - can you believe that? His wife hadn't been back for 30 years! Needless to say he was really sad to come back to the states.
Plumber - Since the plumbing on this project only entails hooking up our kitchen faucet. Andrew and I decided to conquer this task on our own.
Drywall - Morfin Drywall
Flooring - Cornell's Flooring - We decided the cost to replace the tile was about the same as replacing it with wood floors.

We did the demo in late September because our electrician was going to be out of the country until October 14th and we wanted to get the wood flooring and drywall contractor to complete their work prior to our electrician returning. However things didn't quite go according to plan they never do in renovations. Once we completed the demo we realized that there was electrical that needed to be moved before the flooring could be installed. So we lived without a kitchen for 2 weeks until Traian came back to the states.

To make matters even more interesting the cabinets arrived 2 weeks ahead of schedule. So as I sit writing this there are 25 boxes filled with cabinets in our living room, but we have new wood floors and all the electrical work is done. Drywall should be complete in the next two days and cabinets installed before the weekend. Hopefully things will go according to plan, but as you can tell from this post in a renovation things never go according to plan!

Wednesday, June 30, 2010

Bathroom

The Bathroom is done! Well almost...

We are pretty particular with all the small details so we are working on getting it perfect, but it's exciting to walk into a beautiful new space every morning.

I only wish our bathroom was bigger so you could get a better sense of the space from the photographs.

Loving the new comfort height toilet from Kohler, however I'm considering replacing the flush handle with a more traditional fixture that correlates with the other finishes. You can buy replacement flush handles at big box stores like Home Depot or Lowes.


Our Vanity Top came out beautifully. As I mentioned in a previous posting, we decided to use the same color marble on the floor and the counter. I hand picked the slab of marble and showed them exactly where to cut to be certain there weren't any imperfections. In fact they actually brought a counter that wasn't cut according to my specifications and there was a large imperfection (think a gigantic birthmark) on the stone. I felt badly, but I told them I couldn't accept this counter and requested a new piece. Thankfully they had another slab at their warehouse and I was able to get a new counter.

I am obsessed with the Container Store - it is seriously my happy place! Thanks to an $85 trip to the container store, our medicine cabinet now looks organized and pretty.


We decided to put a small niche in the shower wall. These are easy to build in between the studs. The only real cost is the extra work for the tiler. Ours cost an extra $75 worth of labor, but I think it's worth it.

I will post in a few days explaining where we purchased everything. You can also look forward to a post on how to choose a general contractor and how to survive a remodel!

Friday, June 25, 2010

Staging!

Before starting Paper Possibilities, I worked for my Dad's Real Estate Development company- Focus Development. I still have a passion for real estate and occasionally he allows me to furnish and decorate one of his models. Most recently he gave me the opportunity to work on a fabulous unit at his development Courthouse Square.

Courthouse Square is a condominium development located in Wheaton, IL. The development includes new construction condominiums and rowhomes, however the centerpiece is the Historic DuPage County Courthouse which was restored and renovated into 6 luxurious condominiums. The building was built in 1896 when the county seat moved from Naperville to Wheaton. In the 1960's, the county built a Jail/Annex addition to accommodate their growing needs. In the 90's the county moved all of their offices to a complex on the other side of town, and the building was used by National Louis as it's Wheaton campus. My Dad and his partners purchased the property as part of a redevelopment agreement with the city of Wheaton in 2003. They demolished the eyesore of an addition, built the new condominiums, and began restoring the Courthouse. It was a painstaking process to restore the building, however I am so PROUD of the end result. The Courthouse looks beautiful now and is truly a reflection of the city of Wheaton and its history!

After the Addition was removed, before the restoration

After

I worked with my Dad to design the "Courtroom Residence". This condominium is located where the original Courtroom used to be. It features 22' vaulted ceilings, 3 Bedrooms, 3.5 Bathrooms, and 3600 square feet. I chose all of the finishes (i.e. cabinets, counters, backsplash, flooring, etc.) and decorated it with furnishings from Toms-Price. Sidenote - Toms-Price is now having a Floor sample sale and there are some amazing deals to be had!


Living Room

Dining Room

Master Bathroom

I'll be honest the kitchen I designed for this unit is very similar to what I hope my kitchen will eventually look like. I am still loving the look of painted white cabinets and I'm hoping they will never go out of style!

Hope this gives you a lot of inspiration!

Monday, May 31, 2010

Bathroom Demo


Well, it's official all that remains of our bathroom is a lone, crooked, toilet. The demo was actually relatively painless and by doing it oursleves we saved about $500. We found that demolition quotes were all over the place, some as low as $400 and some as high as $1500. The contractor we ended up choosing quoted the demo at $500, so by doing it ourselves we saved enough money on the budget to splurge on this gorgeous Grohe faucet. Faucets are like jewelry in the bathroom and this one is so glamorous.


A couple of tips for the potential DIYer. It was inexpensive for us to complete the demolition because I have access to a painter's van and a dumpster. If you do not have access to these things, then the van/truck will cost you about $60 and to dump the larger items between $100-300, so at that point all that work to save just $200-300 may not be worth it. However, since my Dad runs a construction company we were able to do the demo for the cost of a couple miscellaneous tools at the hardware store and being forever indebted to my father-in-law for doing most of the work. I seriously pretty much watched him and my husband Andrew do everything!

We started the demolition work around 8:30 and finished everything, including clean up, at 3 pm. I thought that was pretty fantastic. The job went so quickly because we were prepared with the right tools. Al, my Father-in-law brought a sawzell or blade saw and a mini jackhammer. The sawzell was used with a diamond blade to cut out the drain in our porcelain coated steel tub. It was a beast getting that out! The mini jackhammer made quick work of the ceramic tile floor. Without these tools it would have been a very late night. Of course we did lots of google work to figure out how best to tackle each project which was pretty helpful to determine which tools we would need. If you don't have access to these tools, they could both be rented at a local hardware store.


Our contractor arrives at 8 am tomorrow. I'll certainly continuing posting about the progress!